How to show the external image in a popup box
Unfortunately the images of a CDN do not always have an extension of the type “jpg, png …”.
You will therefore not be able to use the property Link / Media file and Lightbox / Yes – Default to display the image in a popup box because URIs are not rewritten with the Lightbox functionality of Elementor.
However EAC makes extensive use of the Fancybox plugin. We will show you how to use it to open one or more images in a popup.
Single image with custom link attributes
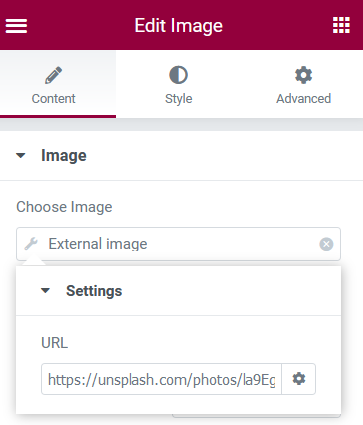
Select Link/Custom URL: you must paste the same url as the image. Yes you can set another url to open a different image in the Fancybox.
Open the Link properties with the gear icon to the right of the Link field
Set Custom Attributes with: ‘data-fancybox|standaloneimg’ (Key|Value).
where data-fancybox is mandatory and value is any value


hi this feature is not availible in elementor free how we can do it
Hi Suliman
This feature has been added to the free version of Elementor v3.3.0
Rgds
this feature is not available for the image gallery widget
Hello Maria,
I just tested it (v1.8.7 and Elementor 3.4.6) and i don’t find any problem
– Open the gallery list repeater
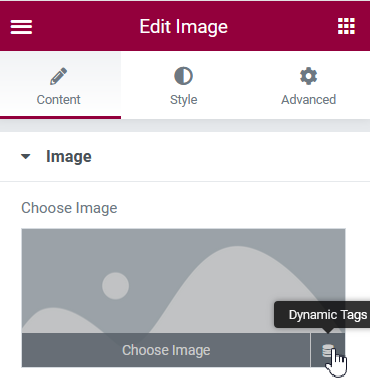
– Image control: click on the wrench icon
– You must find the list of Dynamic Tags and in particular the entry ‘URLs / External Image’
Hi there. I’ve tested using WordPress 6.0.1, Elementor – 3.6.8, Elementor Pro – 7.2.0 and the ‘URLs/External Image’ option is unavailable in Dynamic Tags.
I tried it with a fresh install, and could not get it to work…
Hi Mel,
If Elementor PRO is installed and activated, our plugin’s dynamic tags are disabled to avoid possible collisions.
The dynamic tags you see are from Elementor PRO and not from our plugin.
But in any case you can use the standard Image dialog box to add an image with the left menu ‘Insert from URL’.
This feature has been added to the free version of Elementor since v3.3.0
Rgds
Hi there.
Where can I get the “shortcode media” option ?
I can’t find it anywhere.
Hi Mikehu
Follow this link => https://elementor-addon-components.com/elementor-dynamic-image/
Dynamic tag ‘Shortcode image’ is renamed to ‘Shortcode’ or you can insert the shortcode directly in a text field or a widget.
Rgds
I installed the plugin but I don’t see External Image for Elementor anywhere. I am using Elementor Pro, if that matters.
Hi Jim,
If Elementor PRO is installed and activated, our plugin’s dynamic tags are disabled to avoid possible collisions.
In any case you can use the standard Image dialog box to add an image with the left menu ‘Insert from URL’.
This feature was added in Elementor since v3.3.0
Rgds
Hello,
Plugin throws memory limit error, i use 512M, after disabling your plugin it work again. Any ideas or updates ? Newest ELE / ELE PRO update + your plugin
Hello Jan,
Sorry for the problem,
Multiple factors can cause the error you are reporting.
Our memory usage statistics “ Memory: 10 of 128 MB (8%) | WP LIMIT: 40 MB | PHP 8.1.22”
We don’t test our plugin with the PRO version of Elementor
Is it a local server or a staging server?
Disable components and features you won’t be using with our plugin (EAC components menu)
Remove inactive plugins.
Remove inactive themes.
Rgds
Hello Thank you for your answer,
its quite good server above average.
Server architecture Linux 5.15.0-78-generic x86_64
Web server Apache
PHP version 8.3.9 (Supports 64bit values)
PHP SAPI apache2handler
PHP max input variables 10000
PHP time limit 600
PHP memory limit 512M
Max input time 60
Upload max filesize 256M
PHP post max size 512M
I cleared from inactive themes and plugins, deactivated unused elements in elementor and in your menu, updated everything.
Still error: Fatal error: Allowed memory size of 536870912 bytes exhausted (tried to allocate 20480 bytes)
Hello Jan,
I don’t think I can help you any further.
If the error disappears after deactivating our plugin, simply remove it.
Other plugins such as Essential Addon or Premium will certainly do the job.
Rgds