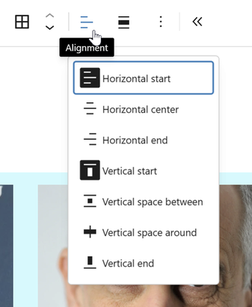
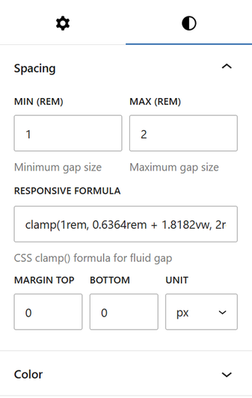
In the Styles tab, under the Spacing section, you can define the gap between items that will adapt to all types of devices.
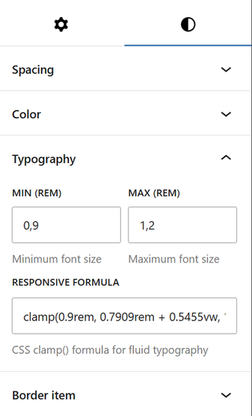
To do this, you must determine the lower and upper limits (Min and Max REM units) so that the block calculates the optimal gap relative to the viewport (320px to 1200px). The CSS formula (clamp) that will be used is located in the field Responsive Formula.
In addition, you will need to specify the top and bottom margins to be applied to the block, if applicable.
The padding is automatically calculated based on half the result of the Clamp formula.